コピペで動かすThree.js
ライブラリのセットアップから3D画面への表示および直方体の回転までを紹介します。手順通りに進めば、20分くらいで作業が完了できると思います。
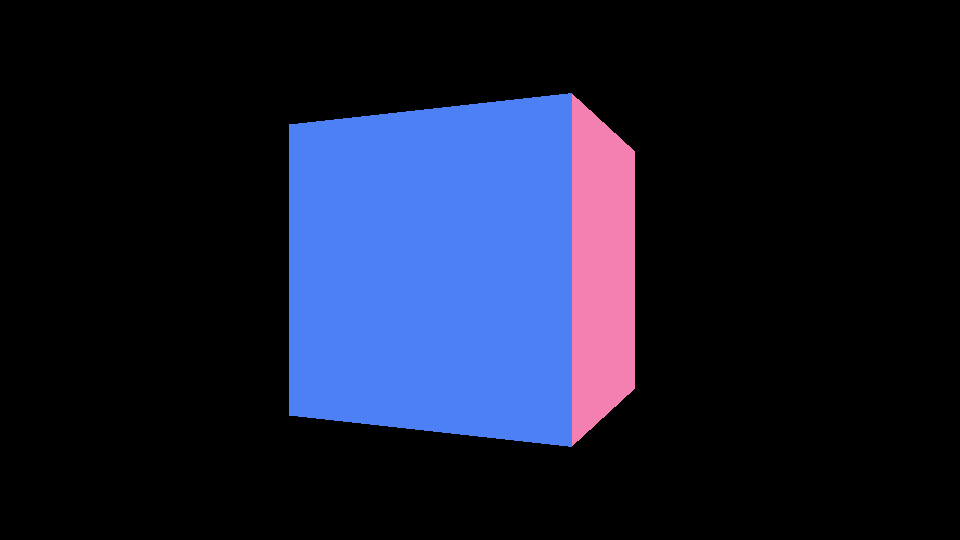
まずはHTMLファイルを用意して、次のコードを貼り付けて試してください。
<!DOCTYPE html>
<html>
<head>
  <meta charset="utf-8"/>
  <script src="https://cdnjs.cloudflare.com/ajax/libs/three.js/105/three.min.js"></script>
  <script>
    // ページの読み込みを待つ
    window.addEventListener('load', init);

    function init() {

      // サイズを指定
      const width = 960;
      const height = 540;

      // レンダラーを作成
      const renderer = new THREE.WebGLRenderer({
        canvas: document.querySelector('#myCanvas')
      });
      renderer.setPixelRatio(window.devicePixelRatio);
      renderer.setSize(width, height);

      // シーンを作成
      const scene = new THREE.Scene();

      // カメラを作成
      const camera = new THREE.PerspectiveCamera(45, width / height);
      camera.position.set(0, 0, +1000);

      // 箱を作成
      const geometry = new THREE.BoxGeometry(400, 400, 400);
      const material = new THREE.MeshNormalMaterial();
      const box = new THREE.Mesh(geometry, material);
      scene.add(box);

      tick();

      // 毎フレーム時に実行されるループイベントです
      function tick() {
        box.rotation.y += 0.01;
        renderer.render(scene, camera); // レンダリング

        requestAnimationFrame(tick);
      }
    }
  </script>
</head>
<body>
  <canvas id="myCanvas"></canvas>
</body>
</html>
ブラウザの画面上に単色の直方体が回転します。
ちなみに前提としてThree.jsはWebGL対応のブラウザが必須となりますので、動作確認はFirefoxやChrome、Safari、Edgeなどを使うといいでしょう。
また、WebGLはローカルファイルのセキュリティーの制限があるため、ローカルサーバー上で実行することをオススメします。ローカルサーバーの構築方法がわからなければ、記事『VS Codeを使いこなせ! フロントエンジニア必須の拡張機能7選』で紹介している「Live Server」を利用しましょう。マウス操作で簡単にローカルサーバーを起動できるので簡単です。